Are you wondering why your radiator is leaking? It can be a stressful situation, but don’t worry! There are several possible causes and fixes for this issue.
In this article, we’ll go over the steps needed to determine what’s causing the leak and how to fix it. We’ll discuss inspecting the radiator for damage, identifying potential causes, tightening connections, replacing various components if necessary, and refilling coolant.
With these tips in hand, you’ll be able to diagnose and repair your radiator leak quickly and effectively.
Assessing the Damage
Before you can fix the issue, it’s important to assess the damage.
There are a few basic steps to assessing a leaking radiator.
Begin by examining signs of leakage such as water stains and rust on the floor or walls near the radiator.
If present, these signs will help you determine where and how much of a leak there is.
Next, test the levels of coolant in your radiator using an antifreeze tester.
This will let you know if there’s enough coolant in your system and if it’s protecting against freezing temperatures.
You should also monitor the temperature of your radiator periodically to ensure that it’s not running too hot or too cold.
Lastly, inspect your radiator for any cracks or loose connections that could be causing leaks and use sealant to repair them if needed.
Monitoring pressure levels is also important when assessing a leaking radiator; if they’re too high, this could cause additional issues down the line.
By following these steps, you can properly assess your leaking radiator and take measures to fix it safely and effectively.
Identifying the Cause
Identifying the source of the problem is essential to finding a lasting solution.
To begin investigating leakages, it’s important to inspect seals and evaluate pressure within the radiator. Inspecting valves for corrosion or dirt buildup can help determine if there are any blockages that are causing the leakage. Additionally, replacing gaskets may be necessary if they’ve become worn or brittle over time.
To ensure a successful repair job, it’s important to take all steps necessary when identifying the cause of leaks in radiators. This includes examining all components of the radiator itself such as hoses, pipes, and connections to assess their condition and determine whether they need repair or replacement.
It’s also important to check for any loose bolts or screws that may be allowing air into the system, which can cause an increase in pressure and result in leaking from weak spots such as seams or joints. Any signs of rust should also be addressed by cleaning off affected areas before attempting further repairs.
Make sure to identify where and what is causing the radiator leak
In addition to assessing any physical damage, it’s necessary to run a series of tests on both the radiator and its associated parts. This includes checking pressure levels and testing for coolant levels as well as performing a thorough visual inspection on all components of the radiator system including valves, gaskets, and other fittings.
Once these tests have been completed, any faulty parts should be replaced with new ones as soon as possible in order to avoid further damage being caused by leaking fluids or air infiltration into sensitive areas of your radiator system.
Finally, once you’ve identified what’s causing your radiator leak, it’s time to start looking at potential solutions such as repairing existing components or replacing them altogether with new parts if needed. Doing so will help ensure that your radiator remains functioning correctly and safely while providing you with peace of mind knowing that your costly repairs were worth it in the long run!
Checking for Corrosion
Don’t let corrosion compromise your radiator’s performance – check for signs of rust and dirt buildup today! Testing tools like a voltmeter or multimeter can help you determine the extent of corrosion in your radiator.
Inspecting the valves, pipes, and coolant should also be done as part of this process. If you find any signs of rust, dirt, or other contamination on these parts, then it is time to add sealant to protect them from further damage.
When inspecting the valves and pipes, be sure to look for any blockages or leaks that may have been caused by corrosion. If you have an older radiator with metal components, these should be checked for any signs of wear and tear due to age and use.
Make sure corrosion does not cause a coolant leak in your car radiator
Be sure to apply sealant generously around all connected components as this will help keep out contaminants that could lead to further damage. In addition to adding sealant, checking for loose connections is important when dealing with corroded radiators.
Loose connections can cause air bubbles which reduce efficiency and can even lead to overheating if not addressed quickly enough. Make sure all bolts are secure before adding new sealant and re-connecting the radiator hoses back into place.
Finally, it’s always a good idea to flush the system after completing repairs on a corroded radiator. This will help remove any old fluids or debris that may have collected inside over time which could otherwise cause additional problems down the line.
Flushing helps restore your system’s functionality, so make sure it gets done after every repair job!
Tightening Connections
After inspecting the valves and pipes, it’s critical to ensure all connections are firmly tightened in order to prevent air bubbles and overheating. To ensure a successful repair job, it’s important for homeowners to check for leaks by:
Examining each joint connection and pipe valve with a flashlight and mirror.
Looking for any signs of leakage or corrosion.
Checking the tightness of each nut and bolt.
Replacing gaskets if necessary and tightening the nuts with an adjustable wrench.
Testing pressure levels with a water pressure gauge while keeping an eye out for any drips or leaks that occur during the process.
It’s also important to consider hiring a professional plumber if you’re uncomfortable doing this work yourself as they have more experience with making these kinds of repairs and can get your radiator back up and running quickly without risking further damage or injury.
With their expertise, they will be able to identify any other areas where problems may arise due to loose connections or worn out parts that need replacing before they become bigger issues down the line. A professional plumber will also be able to advise on whether additional steps such as adding insulation is needed in order to better protect your system from future damages caused by leaking radiators.
Ultimately, when tackling any DIY project around the home, safety should always come first – so make sure you take all necessary precautions when checking connections on your radiator system including wearing protective gloves, goggles, long sleeves/pants etc., ensuring there is adequate ventilation in case of fumes released during repairs, double checking all valves/nuts/bolts after tightening them etc.
Taking these measures will help guarantee that your radiator stays leak free and functioning properly so you can enjoy warm temperatures year round!
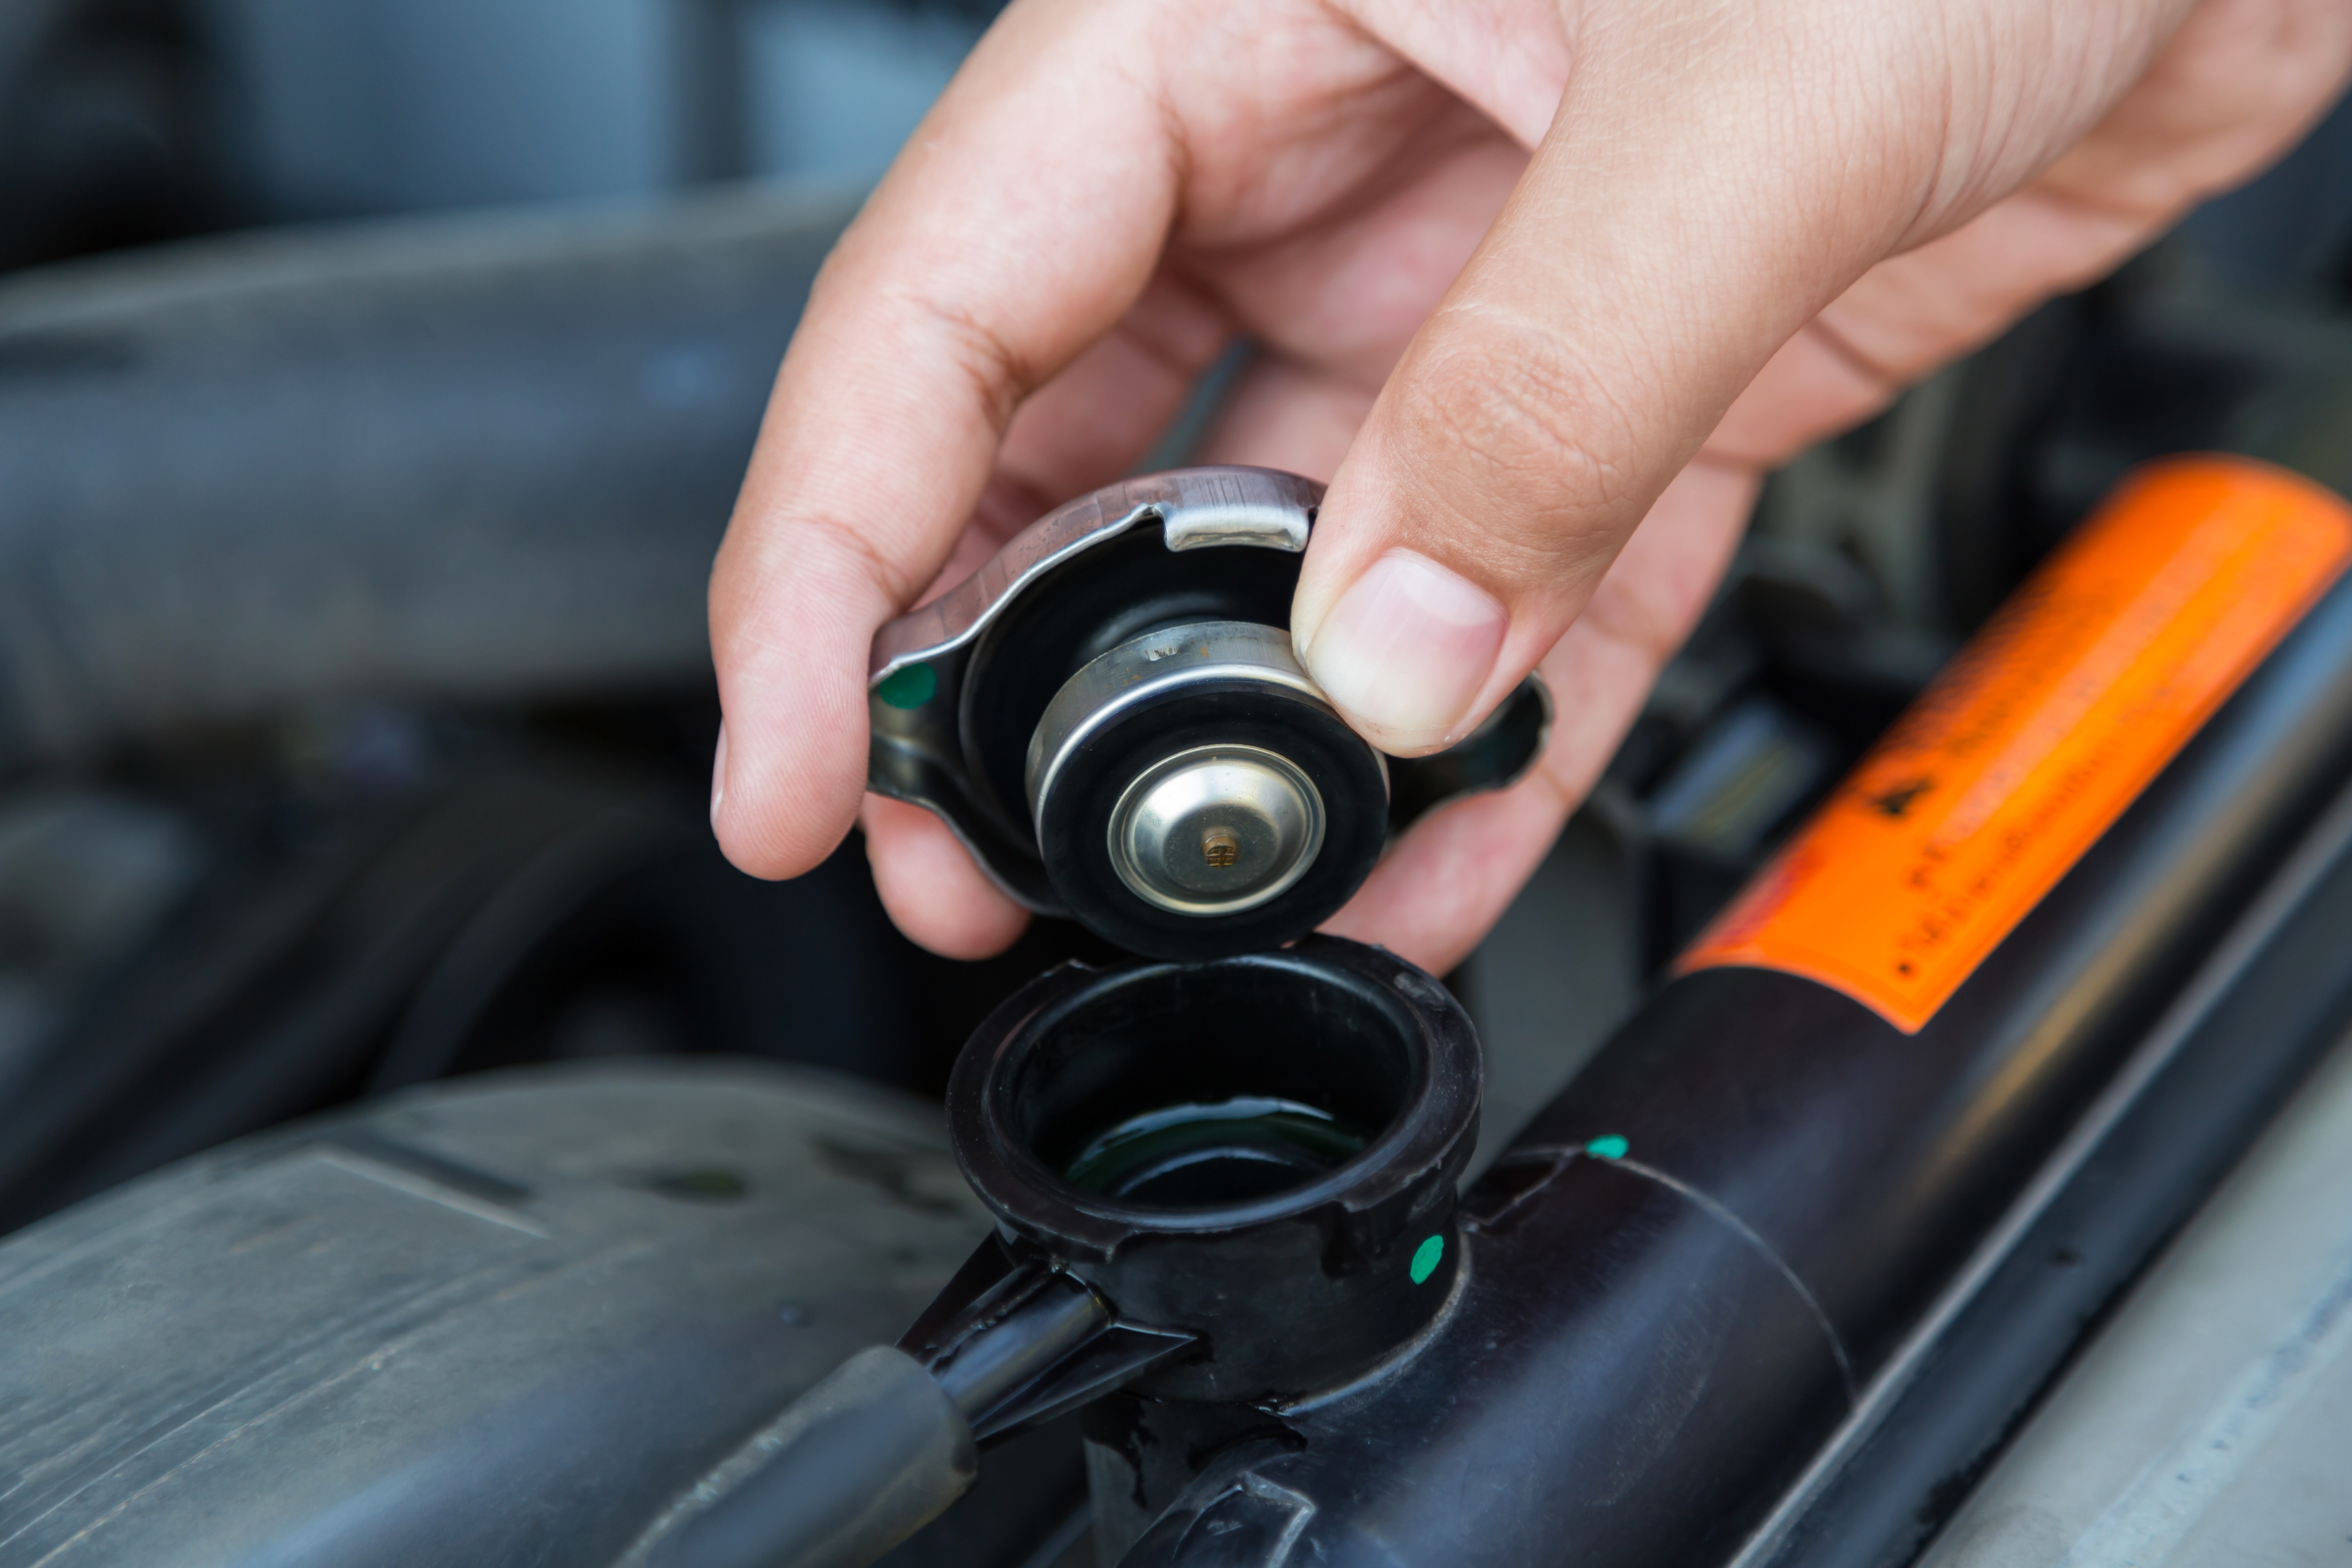
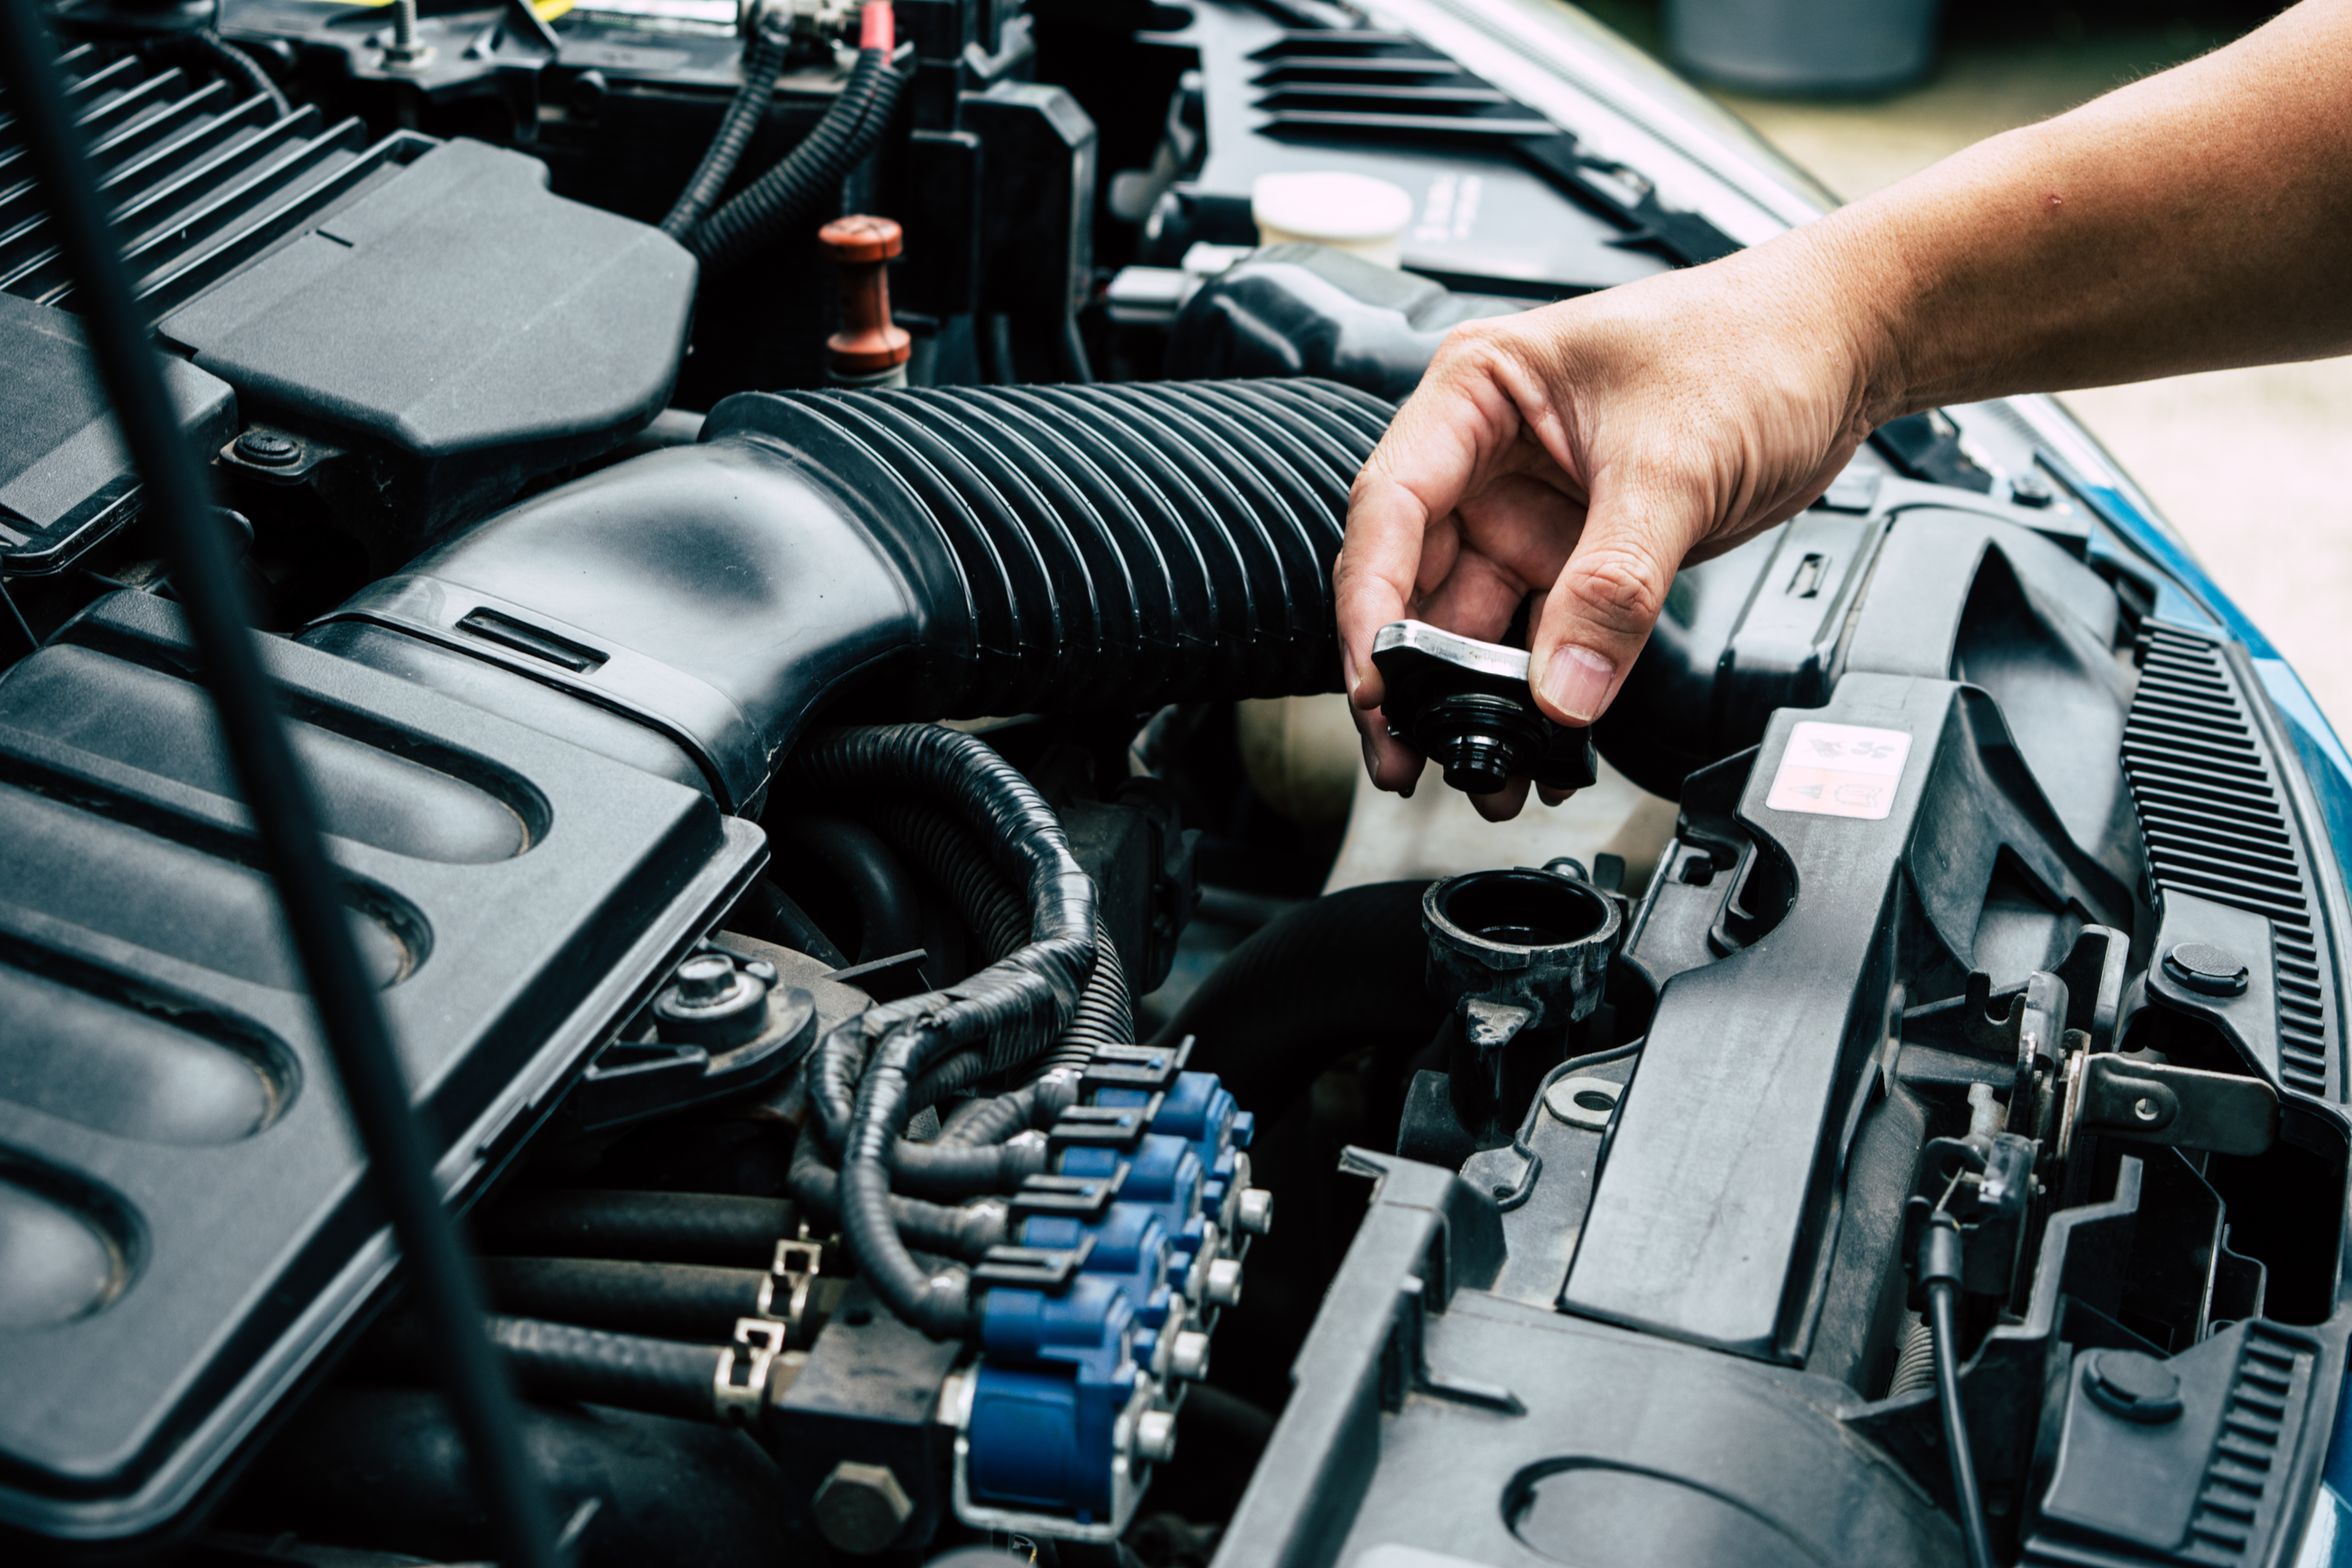
Replacing the Radiator Cap
If your radiator’s been acting up, it might be time to replace the cap for a better seal and improved performance. Replacing parts of your radiator is generally easier than replacing the entire radiator, so replacing the cap is usually a straightforward process.
To begin, you’ll need to make sure that the engine’s cool before removing any parts. Then, remove the old cap and inspect it for signs of wear or damage. If necessary, clean out any debris from around the cap area. You’ll also want to check that all connections are secure before adding a new one.
Next, flush out your coolant system and test for any leaks in order to ensure that everything is functioning properly before adding in a new cap. Fill up your radiator with fresh coolant according to instructions on its packaging and make sure that no air bubbles remain in the system by using a funnel or tube when filling it up.
After you’ve filled up the radiator with coolant, carefully place in a new radiator cap and tighten it until secure.
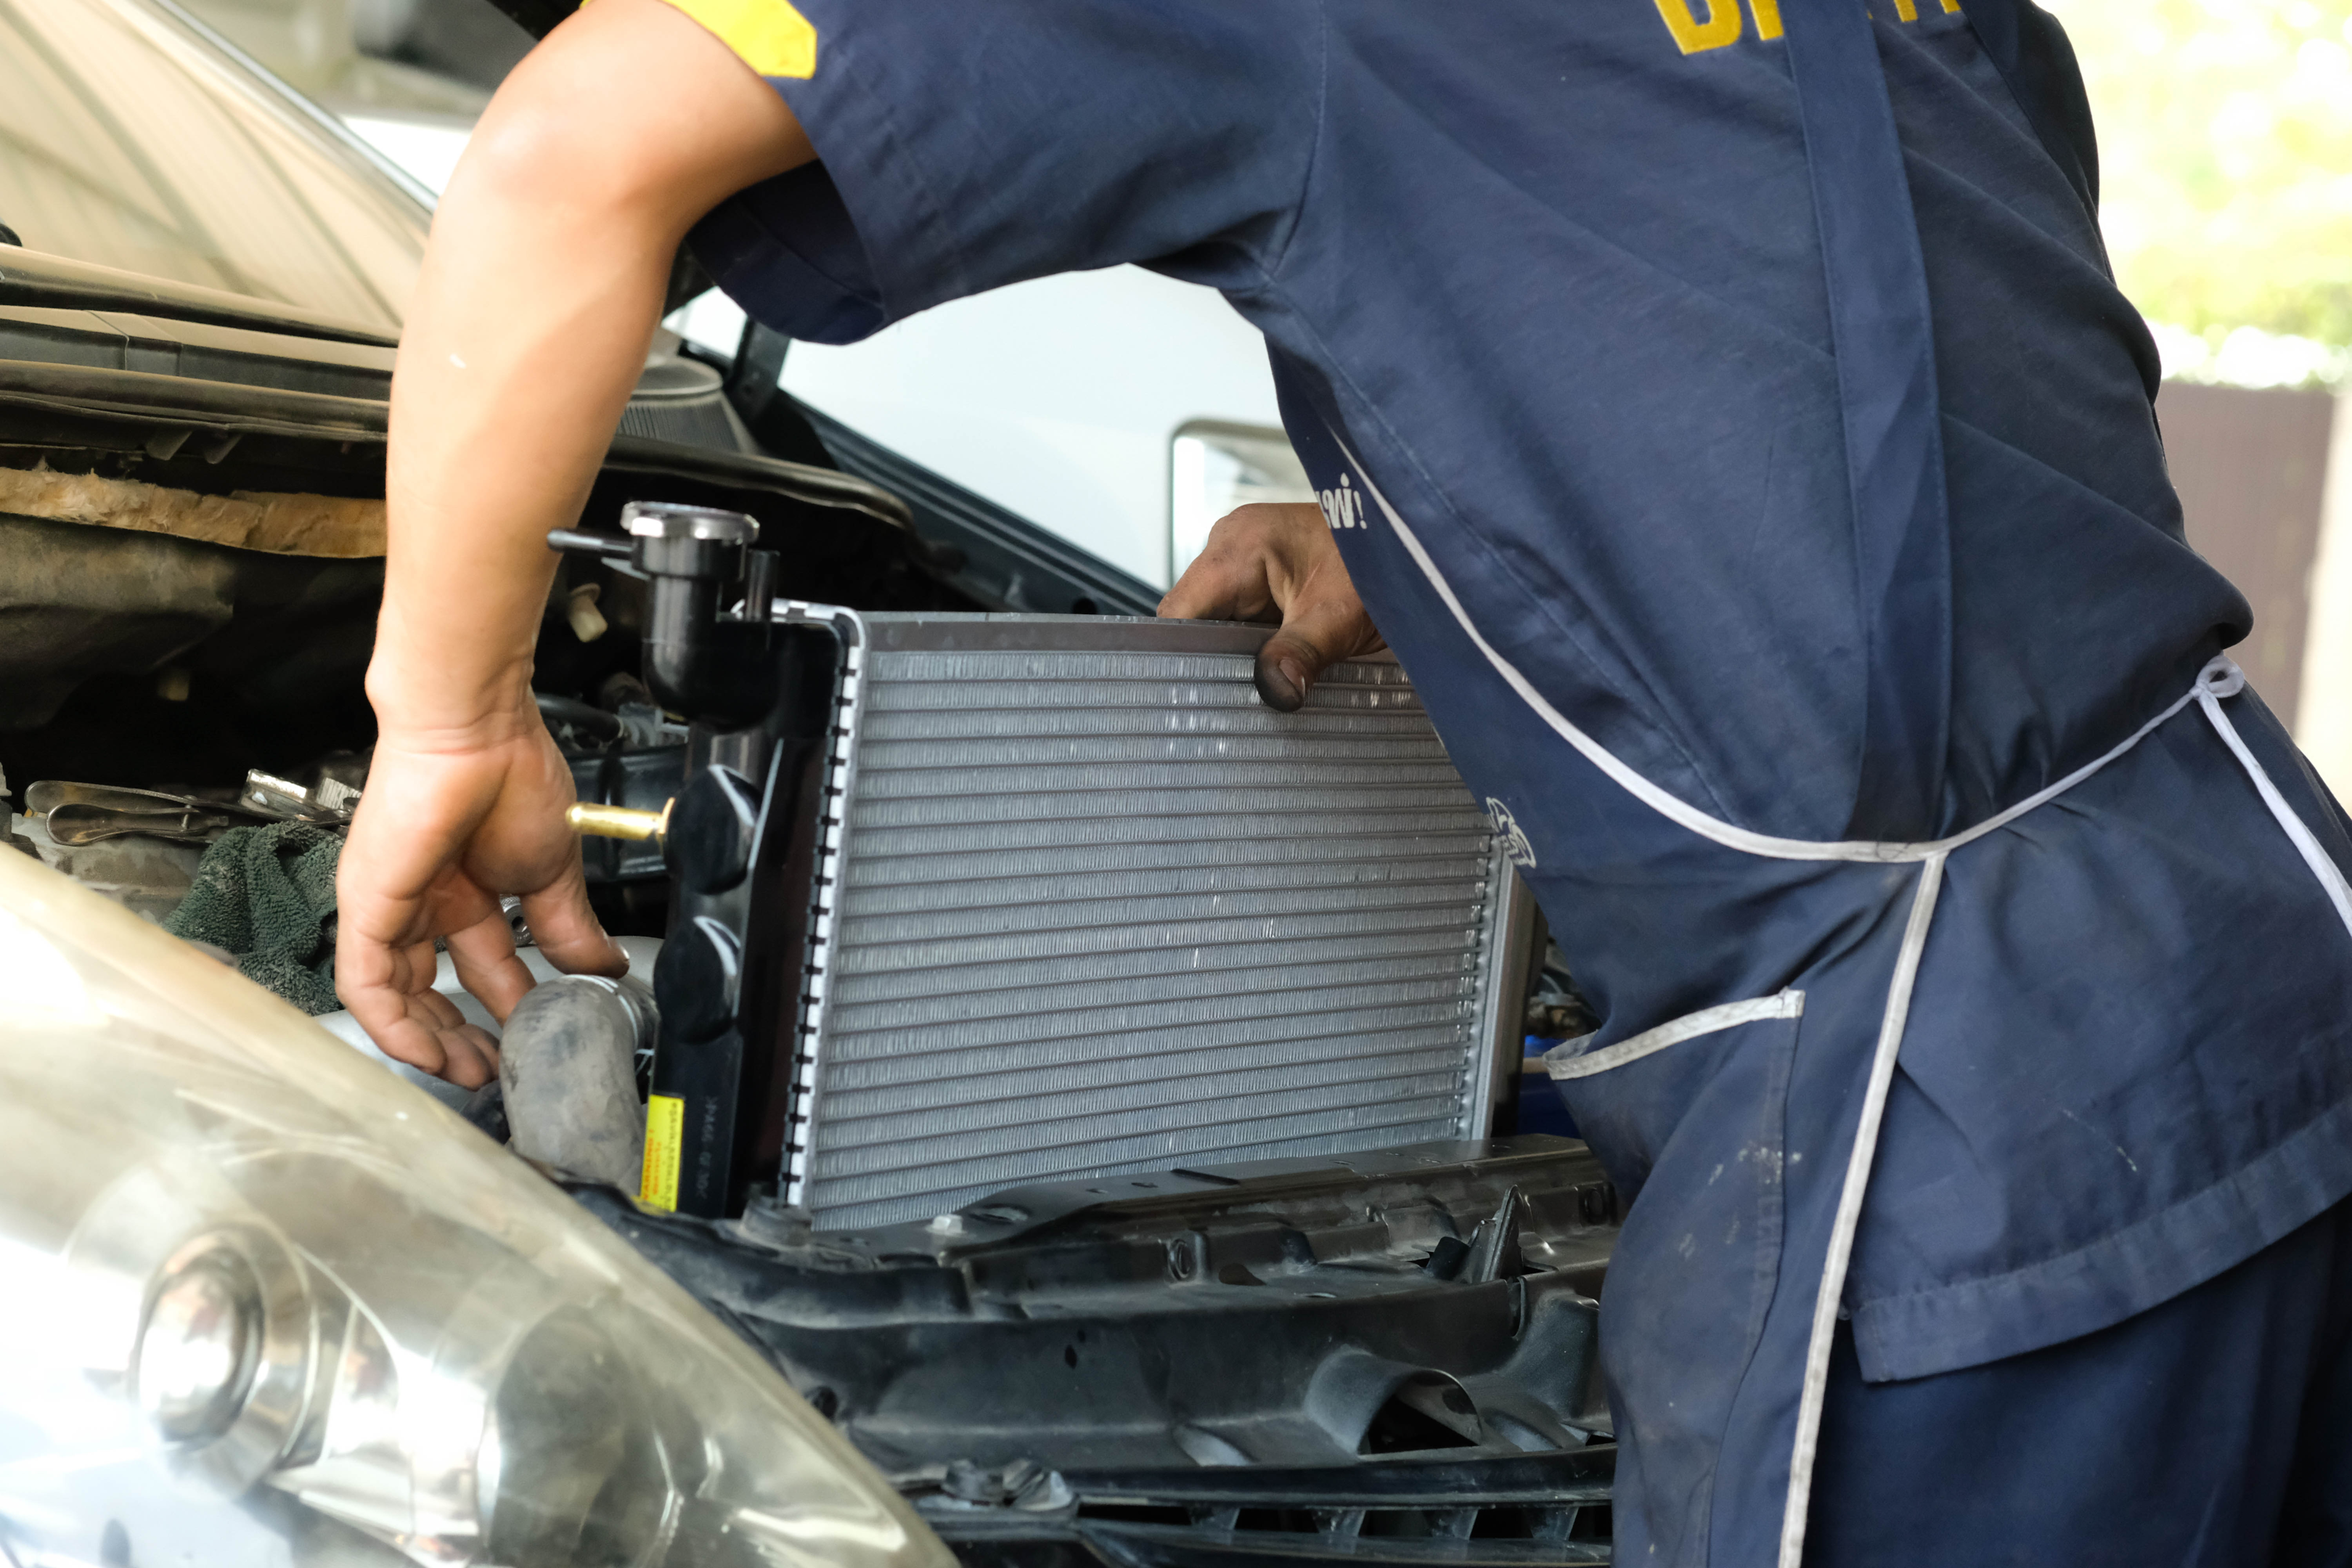
Inspecting the Radiator Hose
Regularly inspecting your vehicle’s radiator hoses can help you catch potential issues before they become costly repairs.
Examine the hoses for any signs of wear and tear, and test pressure to ensure it is in line with manufacturer specifications.
If there is a drop in pressure, then this could indicate a leak somewhere within the system.
Check all clamps and seals around the hoses as well to make sure that they’re not loose or damaged, looking for any cracks or other damage that may have occurred over time.
Be sure to remove any debris from the area too, as this can interfere with proper cooling performance if left unchecked.
Finally, keep an eye out for any fluid leaks coming from the hose itself – these can be indicative of a faulty seal or worn out hose that needs replacing soon for optimal performance.
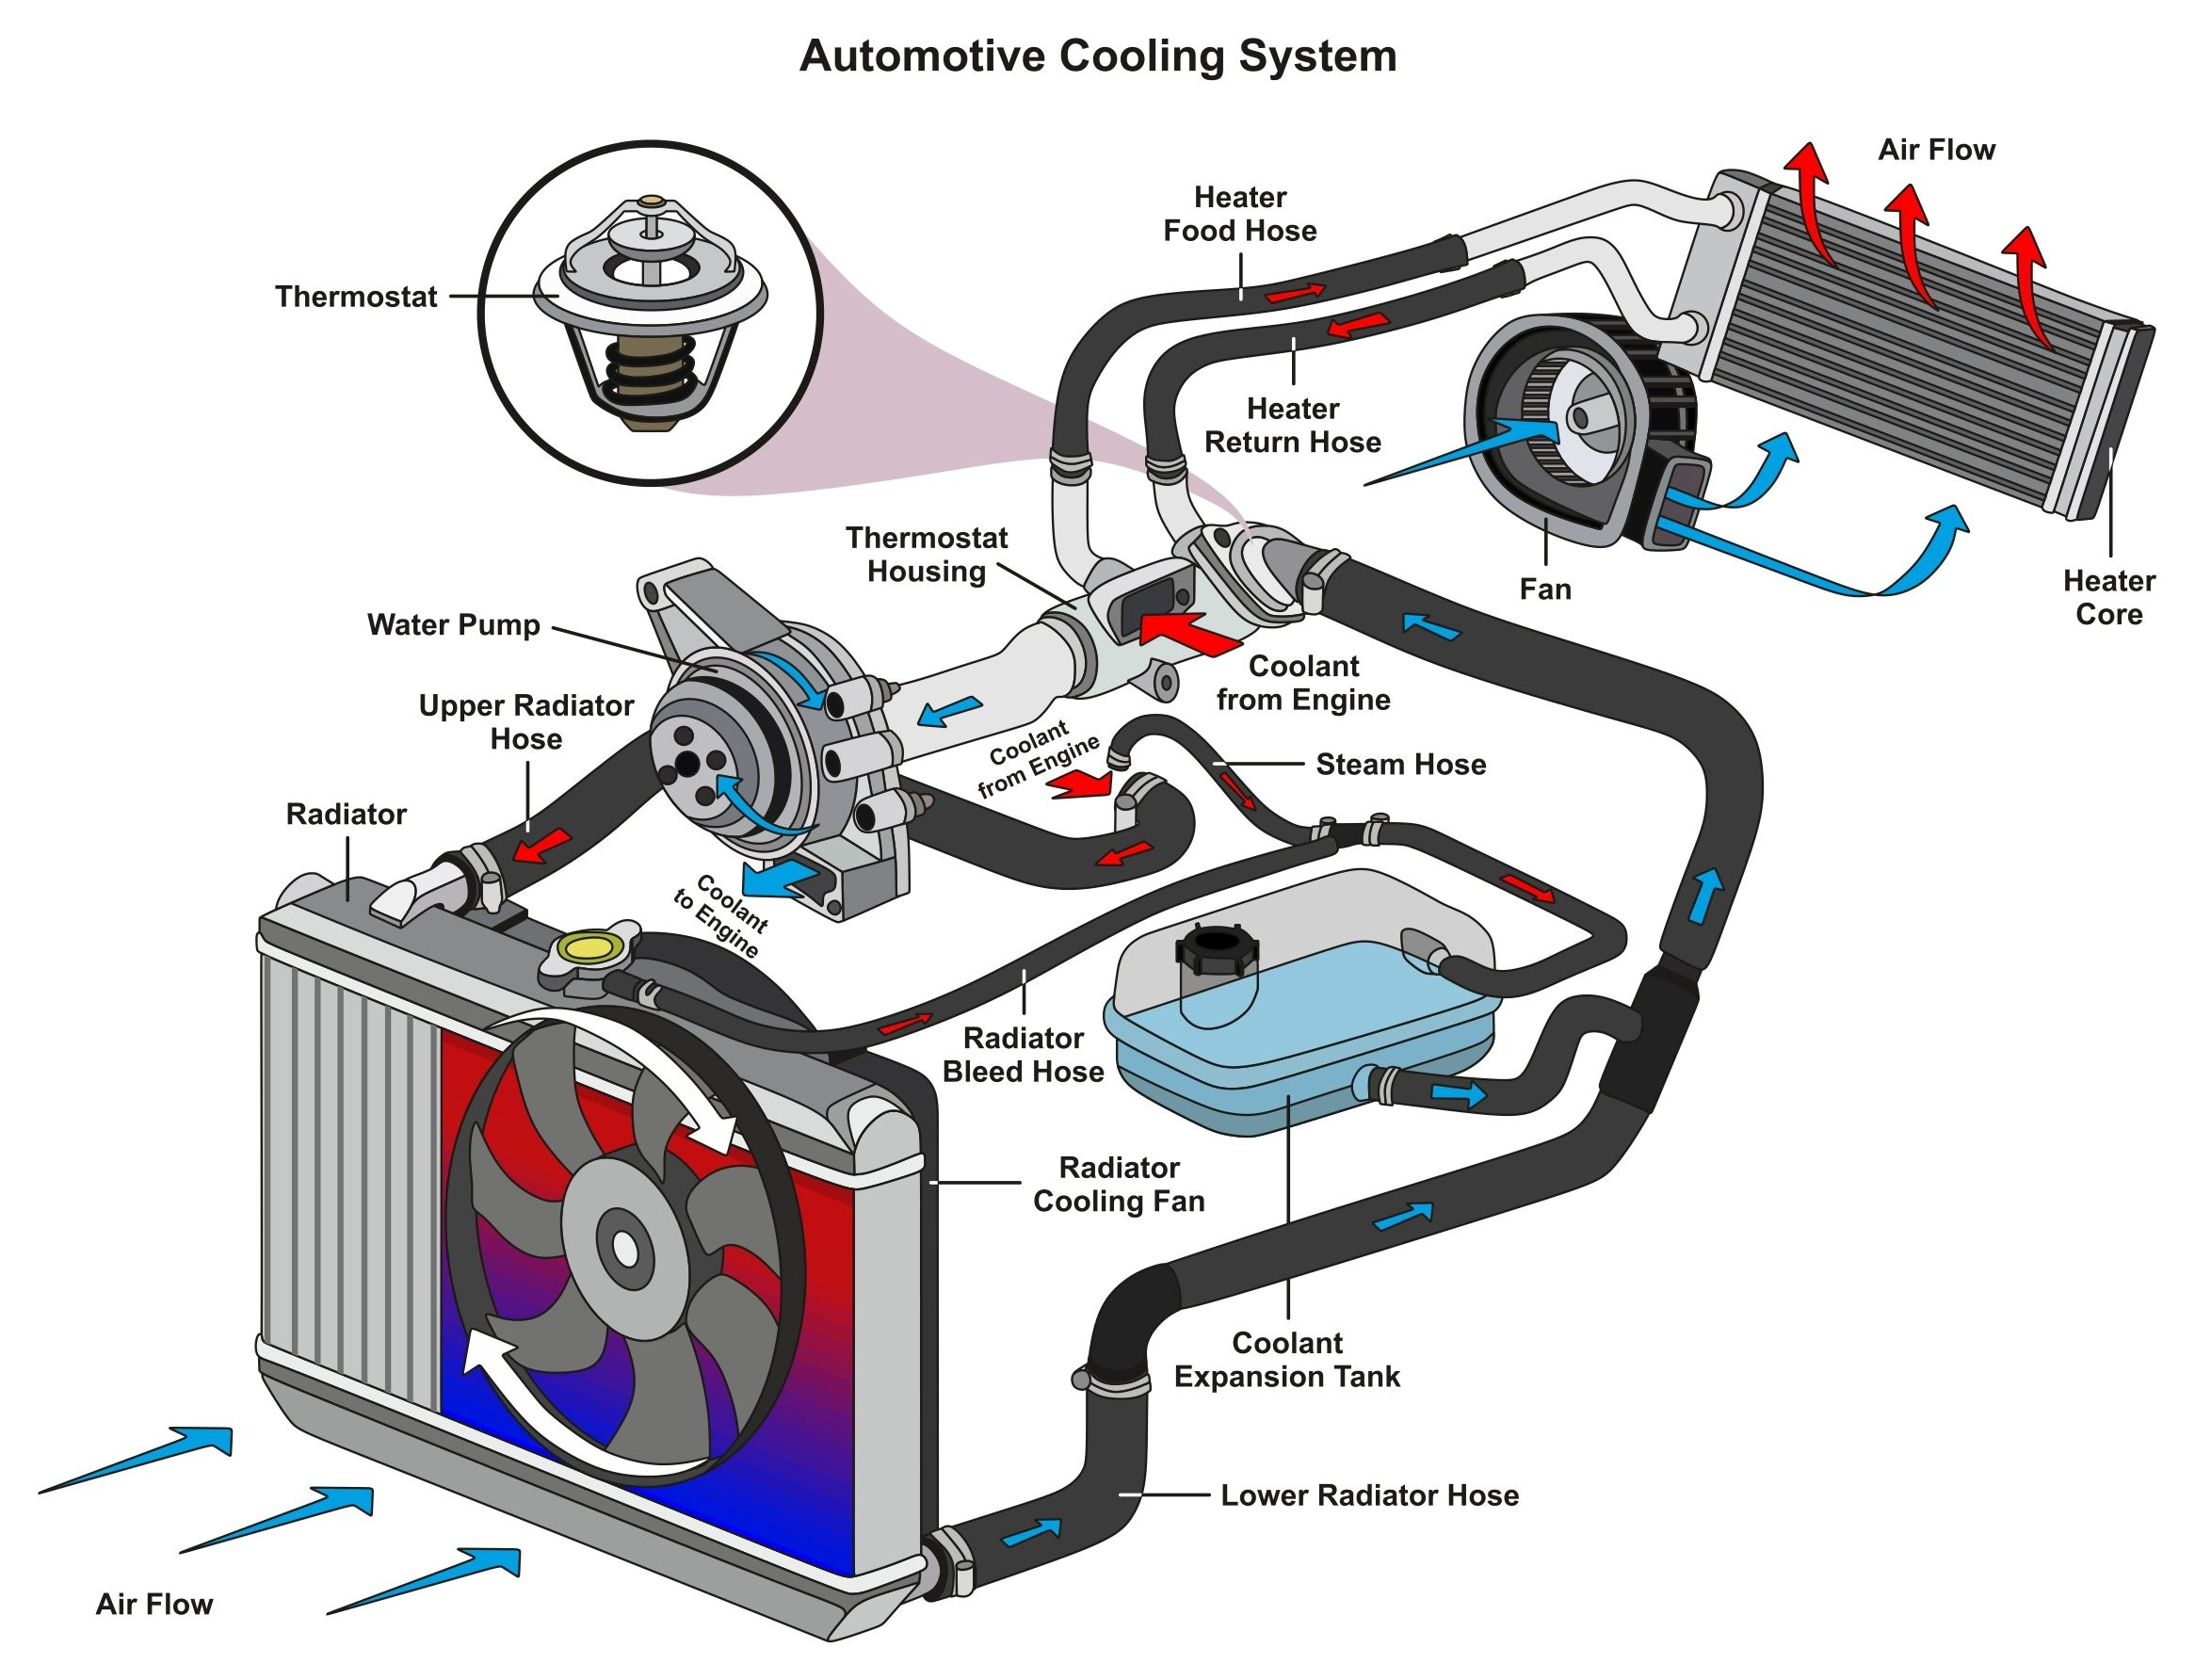
Checking the Water Pump
Examining the water pump is essential to ensure smooth operation of the cooling system and prevent costly repairs. It’s important to thoroughly evaluate pressure levels, test valves for proper functioning, inspect fins for wear or damage, examine gaskets for leaks, and check clamps for tightness.
Examine gaskets at least once a year as well. Look for signs of cracking or leaking around bolt holes, which may indicate problems with heat transfer caused by an inadequate seal between components.
Finally, checking clamps ensures secure connections between parts so that coolant does not escape from its designated pathways. Loose clamps will result in reduced system performance. Use a torque wrench when tightening clamps to make sure they are tightened correctly without being over-tightened, which can cause damage to other parts within the system as well as leakages from unintended areas within your radiator hose assembly.
Replacing the Thermostat
Replacing the thermostat is a crucial step in maintaining the efficient operation of the cooling system. It ensures proper coolant flow and temperature regulation.
To start, you should test the temperature of your radiator to determine whether it needs to be replaced. You can do this by inspecting its seals and valves to ensure they’re functioning properly. Avoiding leaks is also important, as any cracks in the radiator will lead to water loss and overheating.
After testing, you can then replace the thermostat with one that meets your needs while still maintaining heat within your engine’s optimal range. When replacing a thermostat, it’s important to take precautions such as draining all remaining coolant from the radiator before disassembling it. This will help prevent any further damage or contamination from occurring during installation.
Additionally, you should double-check that all nuts and bolts are tightened securely into place when reassembling your new thermostat so that there are no leaks. Once everything is put back together correctly, you’ll want to make sure that the temperature readings of your car’s cooling system are accurate according to manufacturer specifications. If not, then additional adjustments may need to be made for maximum efficiency and performance levels.
Bleeding the Radiator
Regular maintenance is key to keeping your cooling system performing at its best, including bleeding the radiator. Bleeding the radiator involves releasing trapped air in a hot water heating system, which helps keep water pressure and coolant levels even throughout the system.
You should hear air and some water escape when you do this. Keep an eye out for any changes in water pressure or coolant levels while doing this too. Once finished, be sure to fill up any reservoirs where applicable before turning everything back on again and scheduling a regular radiator flush every few years for optimal performance.
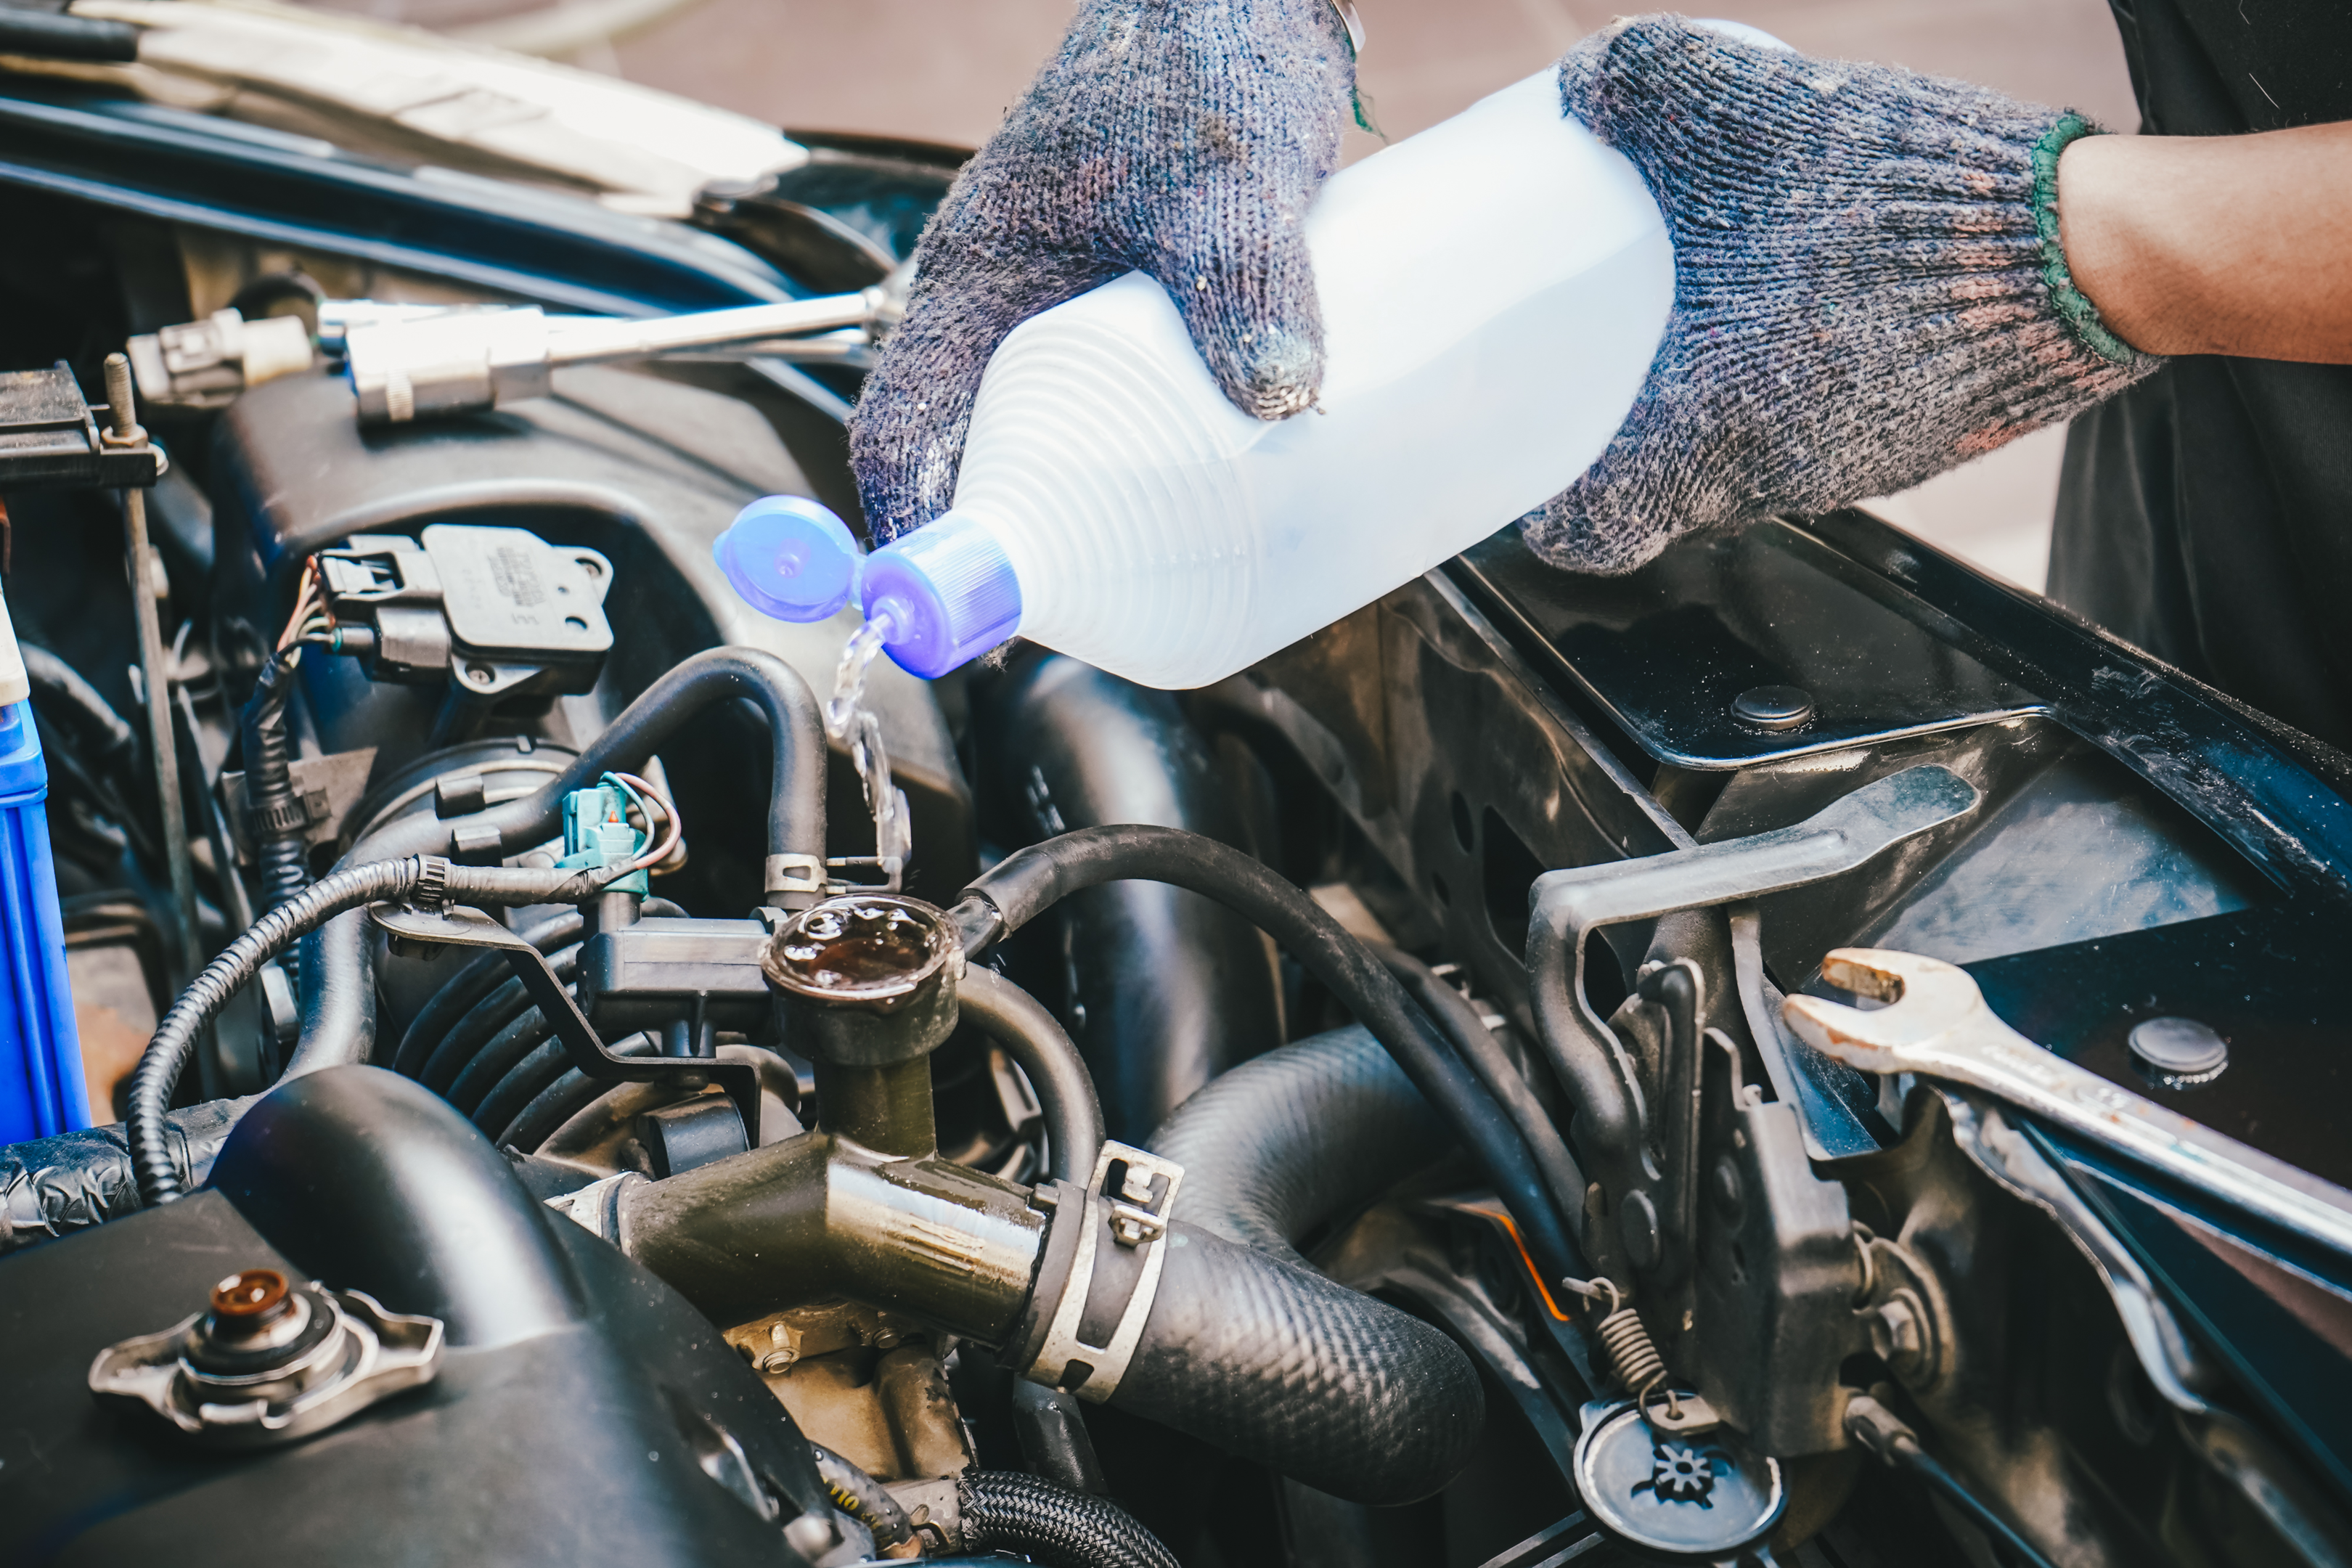
Refilling the Coolant
Keeping your coolant levels topped up is essential for ensuring that your heating system runs smoothly and efficiently. Refilling the coolant in your radiator should be part of your regular maintenance routine, as it helps to prevent blockages from forming and will help you identify any issues with the drain valves.
If a coolant leak is occurring then your radiator will not be able to perform properly. We strongly suggest the following tips for refiling your coolant.
Here are some tips to keep in mind during the refilling procedure:
Choose a coolant type specifically designed for radiators;
Make sure all air has been properly removed by bleeding technique;
Use distilled water only when topping off levels;
Ensure that drain valves are fully closed before refilling.
Without your cooling system being topped off there is a good chance it can damage your radiator
The good news is that refilling coolant is easy enough to do yourself if you have basic DIY skills and access to some tools.
Frequently Asked Questions Regarding A Car Radiator Leak Fix
Is it difficult to identify the cause of a radiator leak?
Identifying the cause of radiator leaks can be difficult because there are multiple potential causes. These can range from clogged hoses, corroded pipes, air locks, and malfunctioning thermostats to low levels of coolant.
It’s important to properly diagnose the issue in order to determine the best course of action for repair or replacement. A qualified technician will be able to examine your system and accurately identify where the leak is coming from, saving you time and money in the long run.
It can be useful to have a coolant system pressure tester in order to find out if you have a leaking car radiator. A coolant system that is leaking coolant cannot function properly and will cause damage to surrounding components.
Are there any preventative measures to avoid radiator leaks?
Regular maintenance and preventative measures are important when it comes to avoiding radiator leaks.
Investing in sealants and corrosion detection can help you identify potential problems before they occur, saving you time and money.
Estimating the cost of any needed repairs or replacements is also a good idea, as well as keeping an eye on temperature regulation – if your car is running too hot, it could be a sign that something isn’t right with your radiator.
Taking these proactive steps will help ensure that your radiator remains leak-free for years to come. It may also be a good idea to purchase a stop leak product which can solve most leaks, while this is not a way to permanently repair the issue, it can provide a temporary solution.
Is it necessary to replace the thermostat when replacing a radiator?
Replacing your radiator is an important job, and it’s essential to consider all potential factors that can be associated with the repair.
One of these factors is whether or not you should replace the thermostat along with the radiator. Generally, if there are no signs of coolant leakage around the thermostat housing, then a replacement may not be necessary. However, it’s important to check for any sealants that may have been used in order to fix a previous leak, as well as make sure that coolant levels remain consistent throughout the system.
Additionally, be sure to inspect other parts near your radiator’s location for signs of wear and tear or leaks that may need attention. Finally, contact a professional to detect any leaks and get an estimate on repair costs before making any decisions about replacing your thermostat.
Conclusion
It’s important to take the time to fix a radiator leak properly. It may seem like a hassle, but it’s essential for the health of your car.
Assess the damage, identify the cause, and check for corrosion. Tighten connections and replace any parts that need replacing.
You can also bleed the radiator and refill it with coolant to ensure everything is running smoothly. With patience and attention, you can easily get back on the road without worrying about any further issues. It would also be advantageous to browse a list of commercial products designed to temporarily fix radiator issues.
Ultimately you will need to visit a local auto parts store or contact a mechanic to solve major issues with your Radiator.
Related Posts:


Connect with us

Recent Blog Entries
- How Do I Reset the Vehicle Immobilizer/Anti-Theft System on My INFINITI?
- INFINITI Vs Lexus: A Clash of Luxury Titans – INFINITI Triumphs at Louisville INFINITI
- Decoding Car Overheating Enigmas at Louisville INFINITI: A Roadmap to Effortless Drives
- Which Cars Are Least Likely To Have Catalytic Converter Stolen?
- Why Is My Car Radiator Leaking And How Do You Fix It?